 Power Viewer
On-Premises Edition Setup Guide
About this guide
This guide walks through installing the Power Viewer on-premises album database (the “on-premises edition”) on your own server.
Audience: the engineer building the server (such as your IT department). Linux command-line work is involved.
To see where the on-premises edition sits in the overall layout, see System Layout & Where Things Live. If you are still choosing between deployments, start there.
Estimated time: about one hour once the prerequisites are in place.
For the post-install acceptance testing (IQ/OQ) see Acceptance Validation Guide; for day-to-day administration see the Admin Console Guide.
1. Prerequisites
Not sure how to obtain the items in this table? Start with the Server Preparation Guide, which covers provisioning the server, installing Ubuntu, installing Docker, DNS registration and obtaining a TLS certificate — with no prior Linux experience assumed.
| Item | Requirement |
|---|---|
| Host OS | Linux (Ubuntu / RHEL / Rocky recommended). Windows is not supported |
| Docker | Docker Engine 24+ and Docker Compose v2.17+ |
| CPU / RAM | Minimum 2 vCPU / 4 GB (8 GB recommended) |
| Disk | 40 GB+ free (database data + backup storage) |
| Network | Internal closed network or VPN access. Ports 80 / 443 open to your users |
| Time sync | NTP synchronisation enabled (used for licence validation and audit-log timestamps) |
| DNS | The hostname (FQDN) your users will access must resolve to this server |
Tip: if Docker is not installed yet, use the official repository build (distribution packages can be outdated).
curl -fsSL https://get.docker.com | sudo sh
2. What to prepare in advance
| Item | Source |
|---|---|
Distribution archive power-viewer-remotealbumdb-onprem-<version>.zip | Download from the “Power Viewer RemoteAlbumDb Onprem” product page on the member portal |
SHA-256 file for the archive (.zip.sha256) | Download from the “SHA-256 file” link on the same product page |
| Server licence (JWT string) | Issued by Power Office |
| Power Viewer licence key | Issued by Power Office (its verification public key is bundled in the archive) |
TLS server certificate (tls.crt) and private key (tls.key) | Provided by you (internal CA etc.). The certificate CN/SAN must match the FQDN your users will access |
Important: the server licence’s
customer_company_keysand the Power Viewer licence key’scompanyKeysmust be issued for the same customer. If they do not match, setup aborts as a safety measure.
3. Extract and verify the distribution
Place the archive in a working directory (e.g. /opt/rad-onprem) and verify its integrity first.
sha256sum power-viewer-remotealbumdb-onprem-<version>.zipConfirm the value exactly matches the one in the SHA-256 file (.zip.sha256) downloaded from the member portal, then extract:
unzip power-viewer-remotealbumdb-onprem-<version>.zip -d /opt/rad-onprem
cd /opt/rad-onprem
sha256sum -c CHECKSUMS.txt
Every line must report OK. Then load the bundled container images:
docker load < images/rad-onprem-images-<version>.tar4. Site configuration (onprem.env)
All configuration lives in a single file, onprem.env. Copy the template and edit it:
cp onprem.env.example onprem.envAt minimum, set the following keys (see the comments inside the template for details):
| Key | Content |
|---|---|
app.baseURL | Required. The URL your users access (https://<FQDN>/). If left unset, the admin console becomes unusable at the very first login |
app.jwtSecret | Required. Signing key for the tokens issued to Power Viewer clients. Generate a value with openssl rand -base64 48. If left unset, no client can log in at all — the admin console keeps working, so the omission is invisible from the screens. Treat it like a password |
MYSQL_ROOT_PASSWORD / database.default.password | Database root password (both must be the same value) |
SERVER_LICENSE_KEY | The server licence JWT string |
POWER_VIEWER_LICENSE_KEY | The Power Viewer licence key string |
INITIAL_ADMIN_USERNAME / INITIAL_ADMIN_PASSWORD | Initial admin-console administrator (password: 12+ characters, 3+ of upper/lower/digit/symbol) |
ONPREM_ALBUM_DB_* | Album database connection (normally the template defaults plus the password) |
INITIAL_USER_KEY / INITIAL_USER_PASSWORD / INITIAL_USER_UPN | Initial user for the Power Viewer client |
Both verification public keys (server-license-pub.pem / power-viewer-pub.pem) are bundled in the archive and work with the default settings.
Note (editing while running):
onprem.envis mounted directly into the running container.sed -iand editors that save by writing a new file and swapping it will NOT reach the container. After editing, always rundocker compose --env-file onprem.env restart app.
5. Install the TLS certificate
mkdir -p certs
cp <your certificate> certs/tls.crt
cp <your private key>  certs/tls.key
chmod 600 certs/tls.key
Confirm the certificate CN matches the FQDN and it has not expired:
openssl x509 -in certs/tls.crt -noout -subject -dates6. Run first-boot setup
./scripts/setup.shThe script performs the following automatically (it is safe to re-run):
- Start the three containers (database / application / web server)
- Generate the encryption key (appended to
onprem.env) - Initialise the management and album databases
- Verify and register both licences (including the customer-key cross-check)
- Create the initial administrator and initial user
Setup succeeded when the last line reports ✓ Setup complete. with exit code 0. A full log is kept at backups/logs/setup-<timestamp>.log.
7. Verify the installation
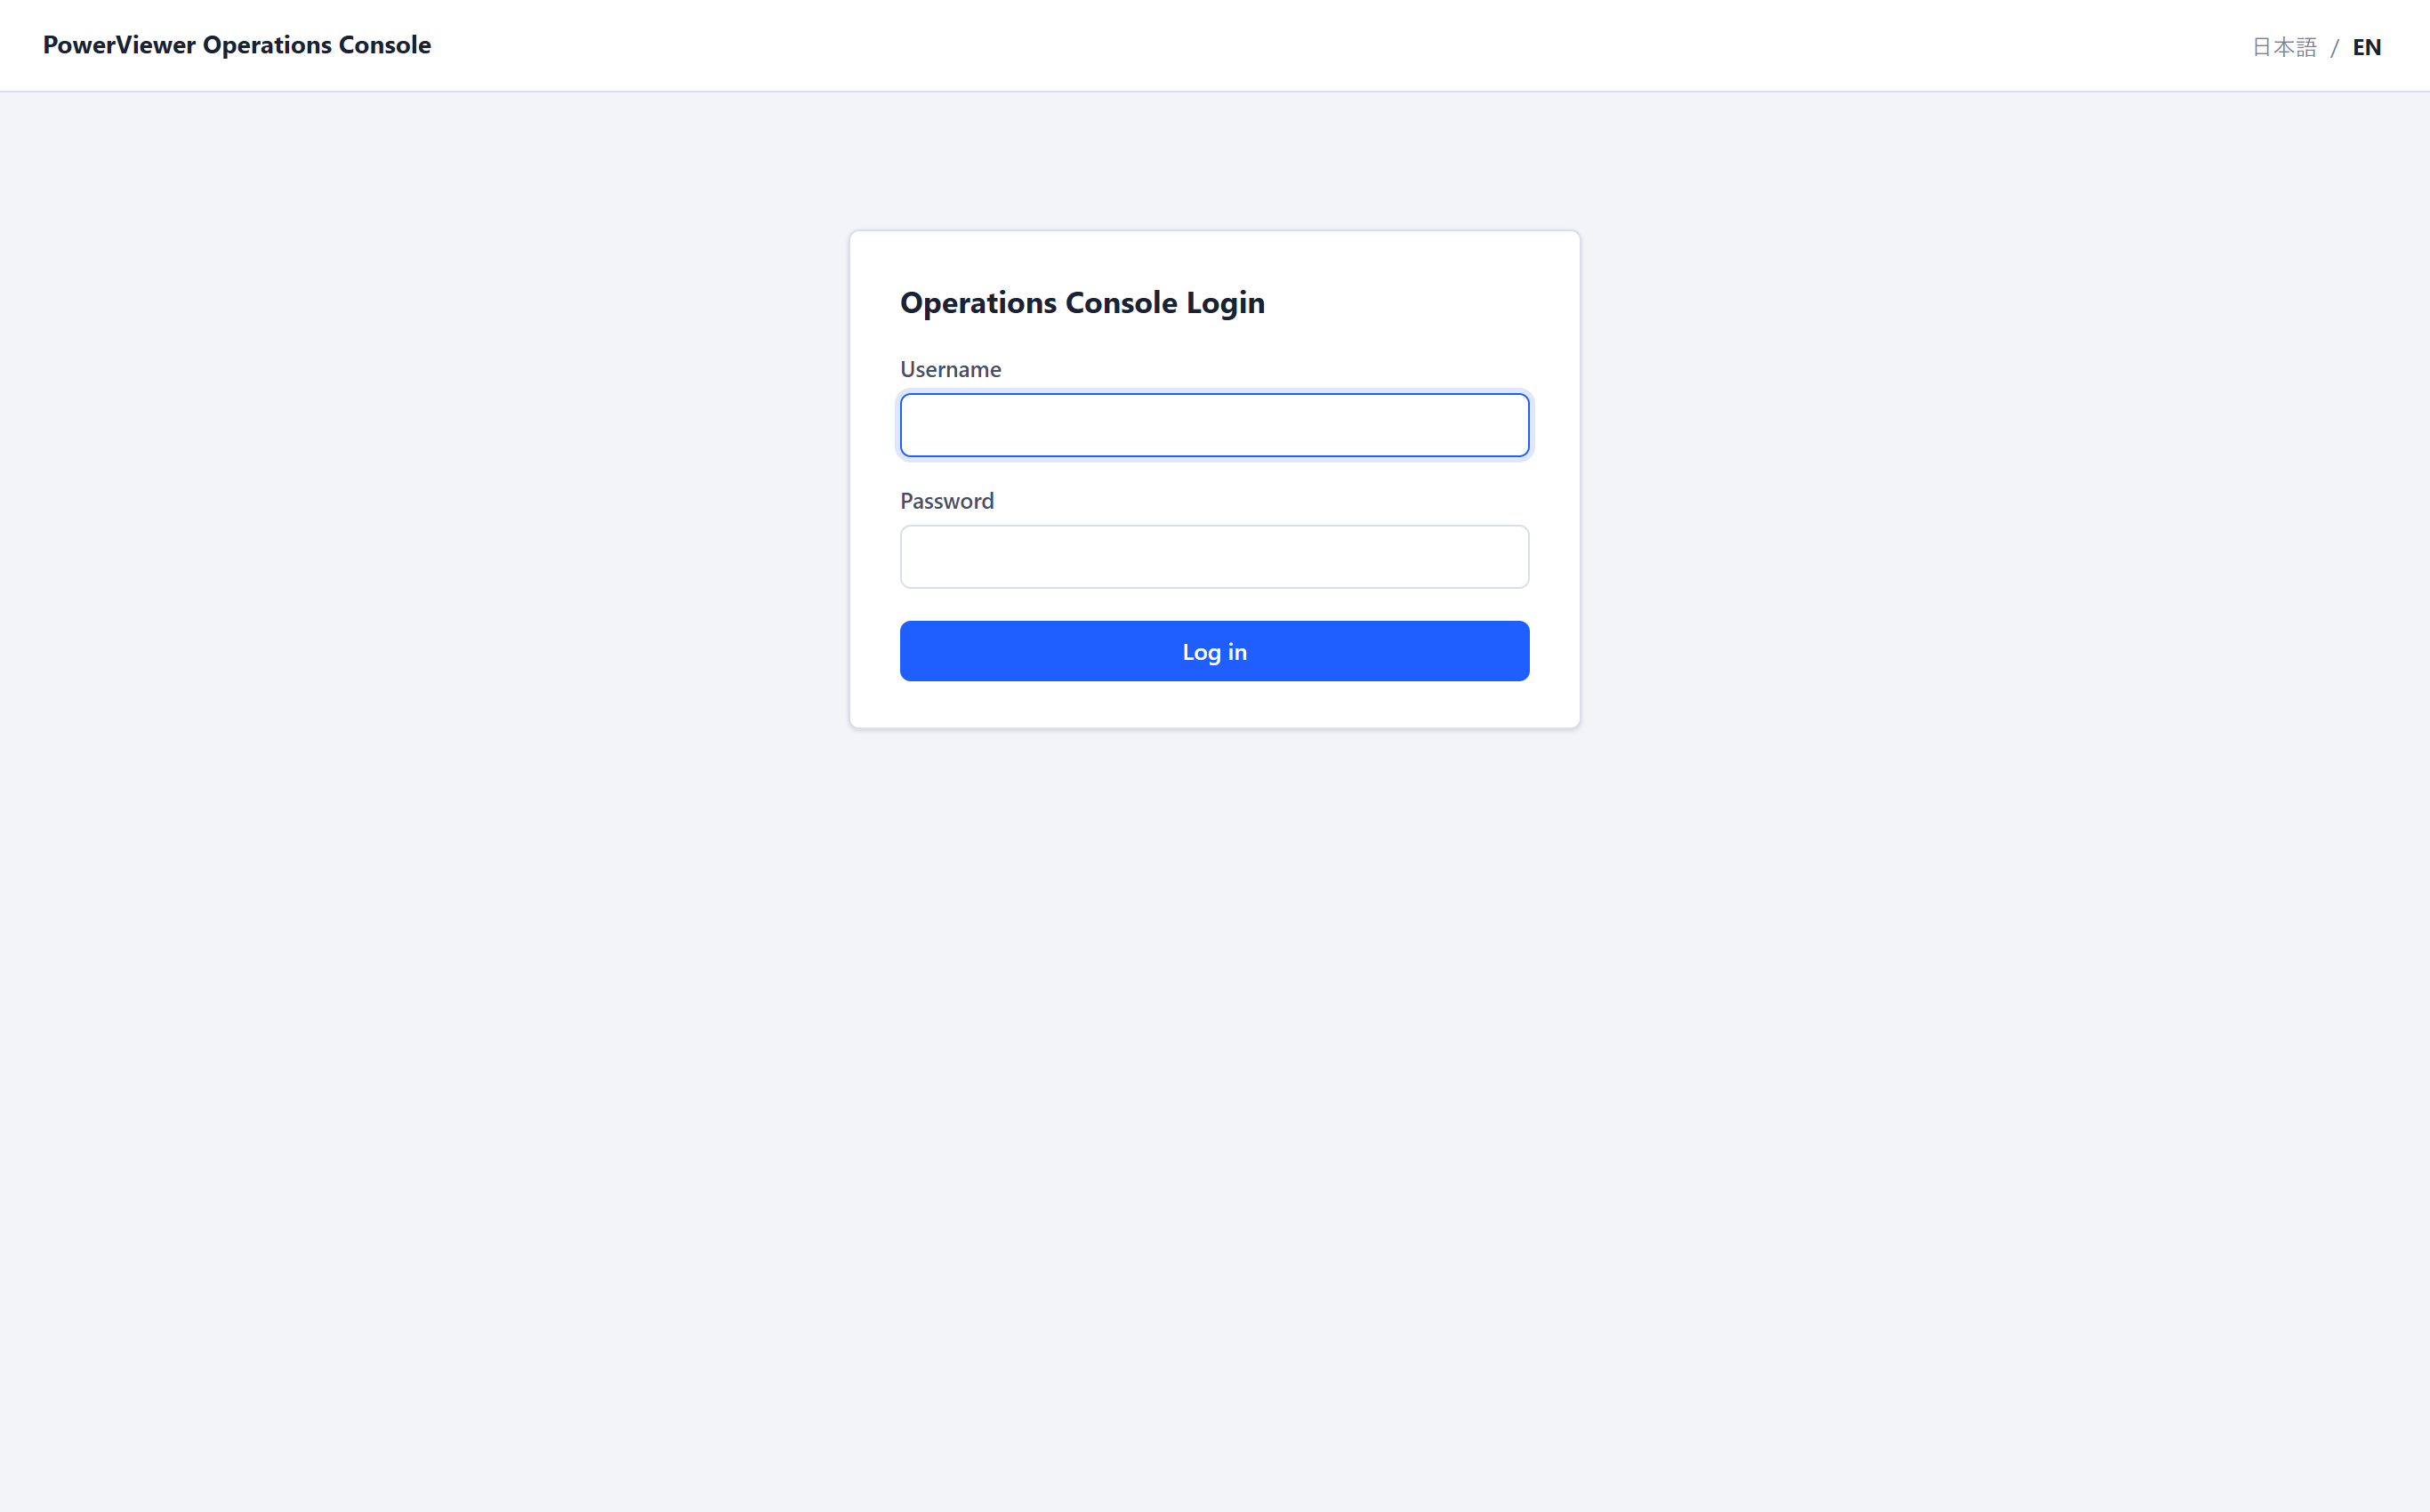
- Open
https://<FQDN>/admin-console/loginin a browser and confirm the login page above renders - Confirm
http://…access redirects automatically tohttps://… - Log in with
INITIAL_ADMIN_USERNAME/INITIAL_ADMIN_PASSWORD→ the password-change page appears; set a new password - After the password change the dashboard appears; confirm every sidebar menu (Dashboard / db_registry / Backups / Administrators / Audit log / Server licence) opens
8. Schedule daily backups
Register the daily backup in root’s crontab (root is required — the script writes to backups/logs/, which is root-owned):
sudo crontab -e0 3 * * * /opt/rad-onprem/scripts/backup-cron.shRun it once manually and confirm two dumps (management DB / album DB) appear under backups/:
sudo ./scripts/backup-cron.shStore a copy of the auto-generated encryption.key value from onprem.env in a safe place off the server (a physical safe, etc.). Losing this key makes stored connection secrets unrecoverable.
9. Next steps
- For GxP acceptance testing: follow the Acceptance Validation Guide to run IQ/OQ
- For daily operation: Admin Console Guide / Operations Guide
- Power Viewer client connection: in the client’s album-database settings, choose the on-premises database, then set
https://<FQDN>and the Power Viewer licence key